
Wood floors exude timeless elegance and charm, adding warmth and character to any space. However, when subjected to water damage, even the sturdiest of hardwood floors can suffer. Whether it’s a minor spill or a major flooding incident, knowing how to effectively address water damage is crucial for preserving the beauty and integrity of your wood flooring. In this guide, we’ll walk you through the step-by-step process of repairing water-damaged wood floors, ensuring that you can restore your cherished flooring with confidence.
Understanding the Impact of Water Damage
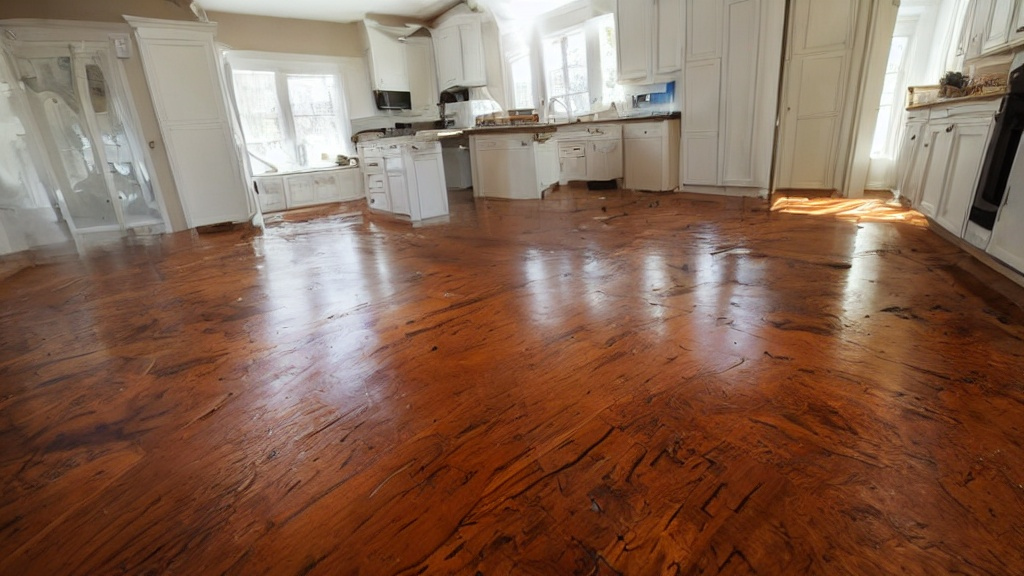
Before diving into the restoration process, it’s essential to understand how water affects wood flooring. Wood is naturally porous, meaning it can absorb moisture easily. When exposed to water, wood expands, leading to warping, buckling, and even mold growth if not addressed promptly. Therefore, swift action is key to mitigating the damage and preventing further deterioration of your wood floors.
Also Read: Addressing Water Damage Dallas: Expert Restoration Services
Identifying Signs of Water Damage
The first step in repairing water-damaged wood floors is to identify the signs of damage. Here are some indicators to watch out for:
- Warped or Bubbled Wood: Excessive moisture can cause wood planks to warp or develop bubbles, distorting their shape and appearance.
- Stains: Water stains on the surface of the wood indicate prolonged exposure to moisture, potentially leading to discoloration and deterioration.
- Spongy Texture: If your wood floor feels soft or spongy underfoot, it may indicate structural damage caused by water infiltration.
- Musty Odor: A musty or moldy odor emanating from your wood floors suggests the presence of mold or mildew, signaling water damage.
Step 1: Act Swiftly
Upon discovering water damage, it’s crucial to act swiftly to minimize the extent of the damage. Begin by removing any standing water using towels or a mop. Promptly drying the affected area will prevent further absorption of moisture and inhibit mold growth.
Step 2: Assess the Extent of Damage
Next, assess the extent of the damage to determine the appropriate course of action. If the water damage is localized and minimal, you may be able to address it through DIY methods. However, severe damage may require professional intervention to ensure thorough restoration.
Step 3: Dry Out the Area
Proper drying is essential to prevent further damage and mold growth. Use commercial-grade dehumidifiers and fans to expedite the drying process. Additionally, ensure adequate ventilation by opening windows and doors to facilitate airflow.
Step 4: Remove Damaged Materials
In cases of extensive water damage, you may need to remove damaged materials such as baseboard trim, sheetrock, and insulation. This allows for thorough drying and prevents mold proliferation in concealed areas.
Step 5: Relieve Floor Stress
To alleviate buckling or warping of wood planks, consider removing two boards along the middle of the affected area. This helps to relieve stress on the floor and accelerates the drying process.
Step 6: Consult Your Insurance Company
If your home is covered by homeowner’s insurance, notify your insurance company of the water damage. They may be able to provide coverage for repair expenses, so it’s essential to keep all relevant documentation and receipts for reimbursement.
Step 7: Monitor Moisture Levels
Monitor the moisture levels of your wood flooring using specialized equipment. Contractors can measure the Equilibrium Moisture Content (EMC) to ensure that the affected area reaches a level consistent with unaffected areas of your home. This helps to prevent premature repairs and ensures optimal drying conditions.
Step 8: Exercise Patience
Restoring water-damaged wood floors requires patience and diligence. Depending on the severity of the damage, the drying process may take several days to several weeks. Avoid rushing the restoration process to ensure thorough drying and prevent future issues.
Step 9: Replace Damaged Materials
Once the wood flooring is sufficiently dry, replace any damaged materials, including sub-flooring and insulation. Sand down the hardwood floors to achieve a smooth, level surface, and apply a protective sealant to enhance durability.
Step 10: Final Inspection and Maintenance
After completing the restoration process, conduct a final inspection to ensure that all repairs have been completed satisfactorily. Reinstall baseboard trim and address any remaining issues promptly. Implement routine maintenance practices to preserve the integrity of your wood floors and prevent future water damage.
Also Read: Water Damage to Hardwood Floors: A Comprehensive Guide
Conclusion
Water damage can pose a significant threat to the beauty and longevity of your wood floors. However, with timely intervention and proper restoration techniques, you can effectively mitigate damage and restore your flooring to its former glory. By following the steps outlined in this guide and seeking professional assistance when necessary, you can safeguard your investment and enjoy the timeless elegance of your wood floors for years to come.


